
File Prep
Page CONSTRUCTION TIPS

What is bleed?
Bleed is the artwork that runs past where the design is to be trimmed. It makes sure that none of the critical parts of the design is trimmed off during finishing and that no un-printed paper is showing on the edges of the final product.
How much bleed should I add?
Supply your document at the final trim size + 3 mm bleed.
We regularly calibrate our machinery and strive for consistency. However, minor movement of the stock can occur during our various printing and finishing processes.

Minimum margin requirements?
Equal margins in your design create balance across the page and compensate for minor movement during the printing and finishing processes.
We recommend a minimum of 4 mm margins for business card size or larger designs. For small labels, a minimum of 2 mm is required.
If your document has bleed, you’ll need to add the bleed to the margin size. 3 mm bleed + 4 mm margin means that no critical parts of the design should be within 7 mm of the edge of your print file.

What colour profile should I use for my workflow when printing with Speedy Print?
CMYK: We recommend using the GRACol 2006 (ISO 12647-2:2004) profile as it is what our presses use as their output profile.
RGB: We recommend the Adobe RGB (1998) profile as it offers an extended gamut of colours over the sRGB profile.
Speedy Print’s large format giclee printer utilizes the RGB colour space along with 8 inks to provide an extended colour gamut.
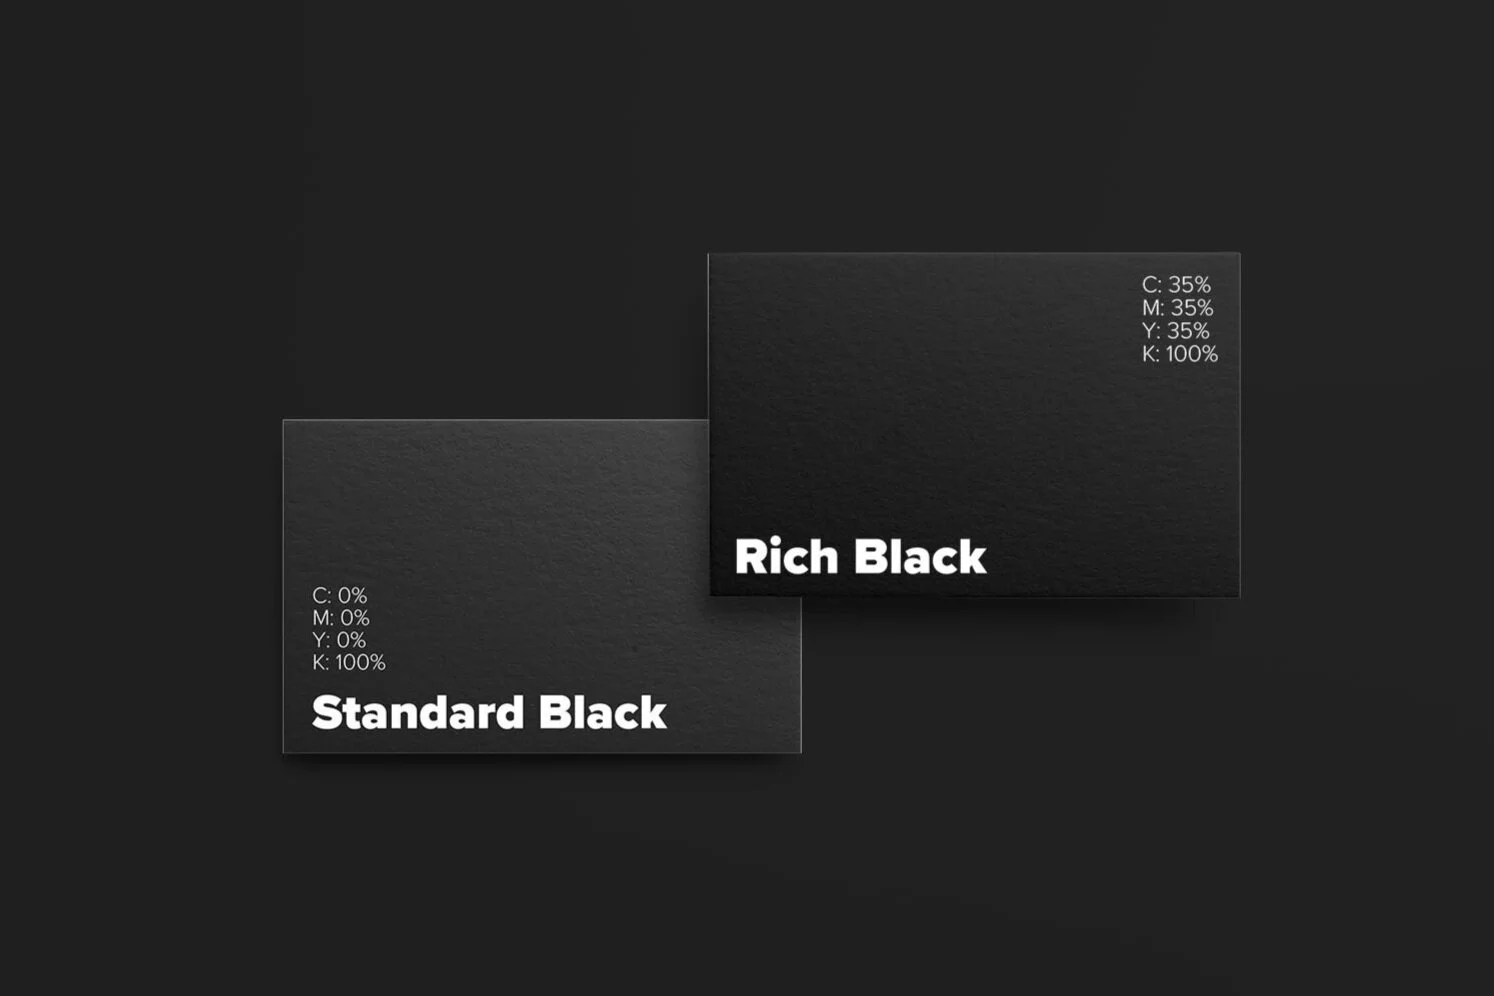
Why use rich black vs standard black?
If you are printing in full-colour CMYK, you can achieve a deeper black using a rich black formula. This is particularly good for large headlines or areas of extensive black coverage. Avoid using rich black for text smaller than 18 points and instead use standard black.
Recommended Rich Black Mix
35% Cyan
35% Magenta
35% Yellow
100% K
Standard Black
0% Cyan
0% Magenta
0% Yellow
100% K

How do I set up a dieline?
Create a swatch called “Dieline”
Define the Colour Type as “Spot”
Make spot colour 100% Cyan
Create a layer called “Dieline”
Give your dieline a stroke width of 1 point
Use solid lines for cuts
Use dashed lines for folds
Use dash, dot, dash for perforationsSet attribute to overprint for all dieline strokes
Remember, the centre of the stroke is the position of the cut

How do I set up a PANTONE spot colour
Adobe products and most design software include PANTONE colour libraries in their swatch panels. Colour your items using the supplied swatches. If you need to use a colour not listed with the provided swatches, then create a new swatch, set to spot, and colour using the specified colour mix from the Pantone Website
Double-check that the Colour Type is set to “Spot.”
Place all spot colour objects on a separate layer from any objects that use transparency.
When exporting, make sure you use the PDFX/4 standard, include 3mm bleed, and make sure the create acrobat layers check box is ticked.
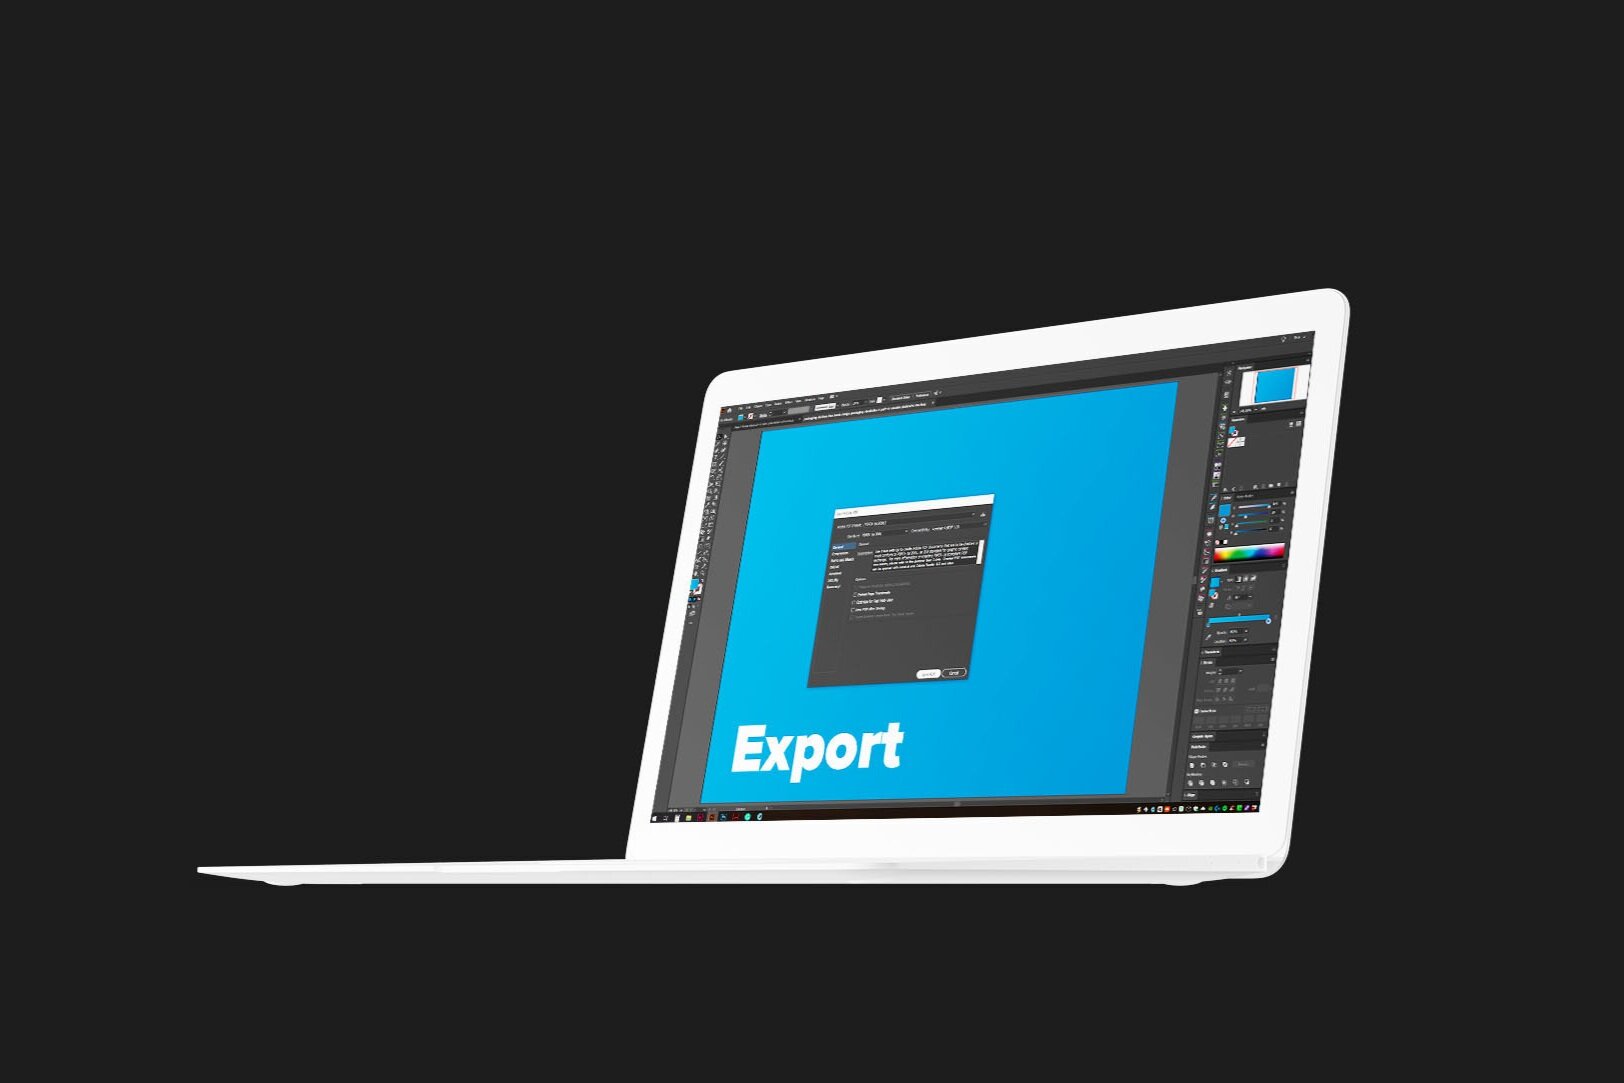
How should I export my file?
You need to export your file as a print-ready PDFX/1a or PDFX/4 file. If using office programs such as Word or PowerPoint, the PDF/A format is acceptable. Office documents (word, etc.) or image files (.jpg, .png, etc.) are not print ready file types.
It needs to be at the size you’re intending the final product to be printed at. If printing a booklet, please supply as individual pages not spreads.
If printing a large format (A1 or larger) you can supply at 1:10 scale, but you’ll need to let the team know that the file needs to be scaled for printing. And you’ll need to make sure your images have enough resolution to support the up-scaling.
CMYK and large format signage:
PDFX/4 with GRACol 2006 (ISO 12647-2:2004) colour profile
Fine arts ink-jet printing, large format posters and canvas:
PDFX/4 or jpeg with Adobe RGB (1998) colour profile

Colours &
Special Finishes

Our Services

Get a Quote